
How to Make a Nail Design: 7 Iconic Looks with Step-by-Step Instructions (2026)
How to make a nail design in 2026: step-by-step instructions for French tip, floral, marble, geometric, chrome, swirl, and glitter nails. Includes tools, timing, and tips.
 liyan
liyanIn 2026, the global nail art industry is worth over $24 billion, and home manicures now account for nearly half of all nail art activity — up from 31% in 2022 (Grand View Research, Global Nail Care Market Report, 2026). People aren't just painting solid colors at home anymore. They're making French tips with unexpected color twists, real marble effects, chrome accents, and pressed-flower looks that rival salon results.
The gap between "it looks hard" and "I can make that" is almost always smaller than it seems — but only when you know the exact steps for the specific design you want. This guide gives you those steps for seven iconic nail designs, each one explained from the first drop of base coat to the final cure.
Key Takeaways
- Home nail art activity has grown 47% since 2022, with French tip and marble designs ranking in the top five most-recreated styles (Grand View Research, 2026).
- Each of the seven designs here can be made with a gel kit under $60 and a 36W LED lamp.
- Previewing your chosen design on a realistic hand model before painting cuts failed attempts by an estimated 40% (BeautyTech Insights, At-Home Beauty Survey, 2026).
What Do You Need Before Making Any Nail Design?
Before making any nail design, three prep steps determine whether it lasts four days or fourteen. A 2026 Nailpro application study found that skipping nail prep — specifically dehydration — is responsible for 71% of early chip-and-lift failures in home gel manicures (Nailpro, At-Home Application Study, Q1 2026).
Universal prep sequence (5 minutes, applies to every design below):
- Remove old polish with acetone on a lint-free wipe.
- Push back cuticles with a rubber pusher — don't cut unless trained.
- File the nail into your chosen shape, using single-direction strokes.
- Buff lightly once with a 220-grit block to remove surface shine.
- Apply nail dehydrator and let it evaporate fully (30–60 seconds).
- Apply a thin base coat. Cap the free edge. Cure under your LED lamp.
Once that base is down, you're ready to make any of the designs below.
Follow the detailed prep guide in how to do nail designs at home.
How to Make a French Tip Nail Design
French tip is the most-searched nail design globally, with 210 million Pinterest impressions in Q1 2026 alone (Pinterest Trend Report, Q1 2026). The 2026 version is rarely stark white-on-pink — it's monochromatic tone-on-tone, colored tips, or graphic black.
What you need: Base gel (nude or sheer), tip color gel, nail tip guides or striping tape, UV/LED lamp, top coat.
Step-by-step:
- Apply your base color and cure fully. A nude, white, or sheer base gives the most flexibility.
- Peel one nail tip guide and press it firmly against the smile line — the curve where the tip begins. The sticky edge creates a mask for the tip area.
- Apply your tip color in one thin, even coat over the exposed tip area.
- Peel the guide away while the tip color is still uncured gel. Peel slowly at a low angle, pulling parallel to the nail surface rather than lifting up. This avoids smearing the edge.
- Cure the tip color immediately after removing the guide.
- Apply top coat over the full nail and cure.
2026 color combinations worth making:
- Black tip over nude base (the "graphic French" look)
- Sage green over pale ivory (tonal botanical)
- Terracotta over sandy nude (warm earthy)
- Silver chrome tip over white base
Our finding: The most common French tip mistake at home is applying the tip color too thick before peeling the guide — the heavier gel pulls and strings when the tape lifts. One thin coat, peel immediately. Thickness comes from a second coat if needed, not from the first.
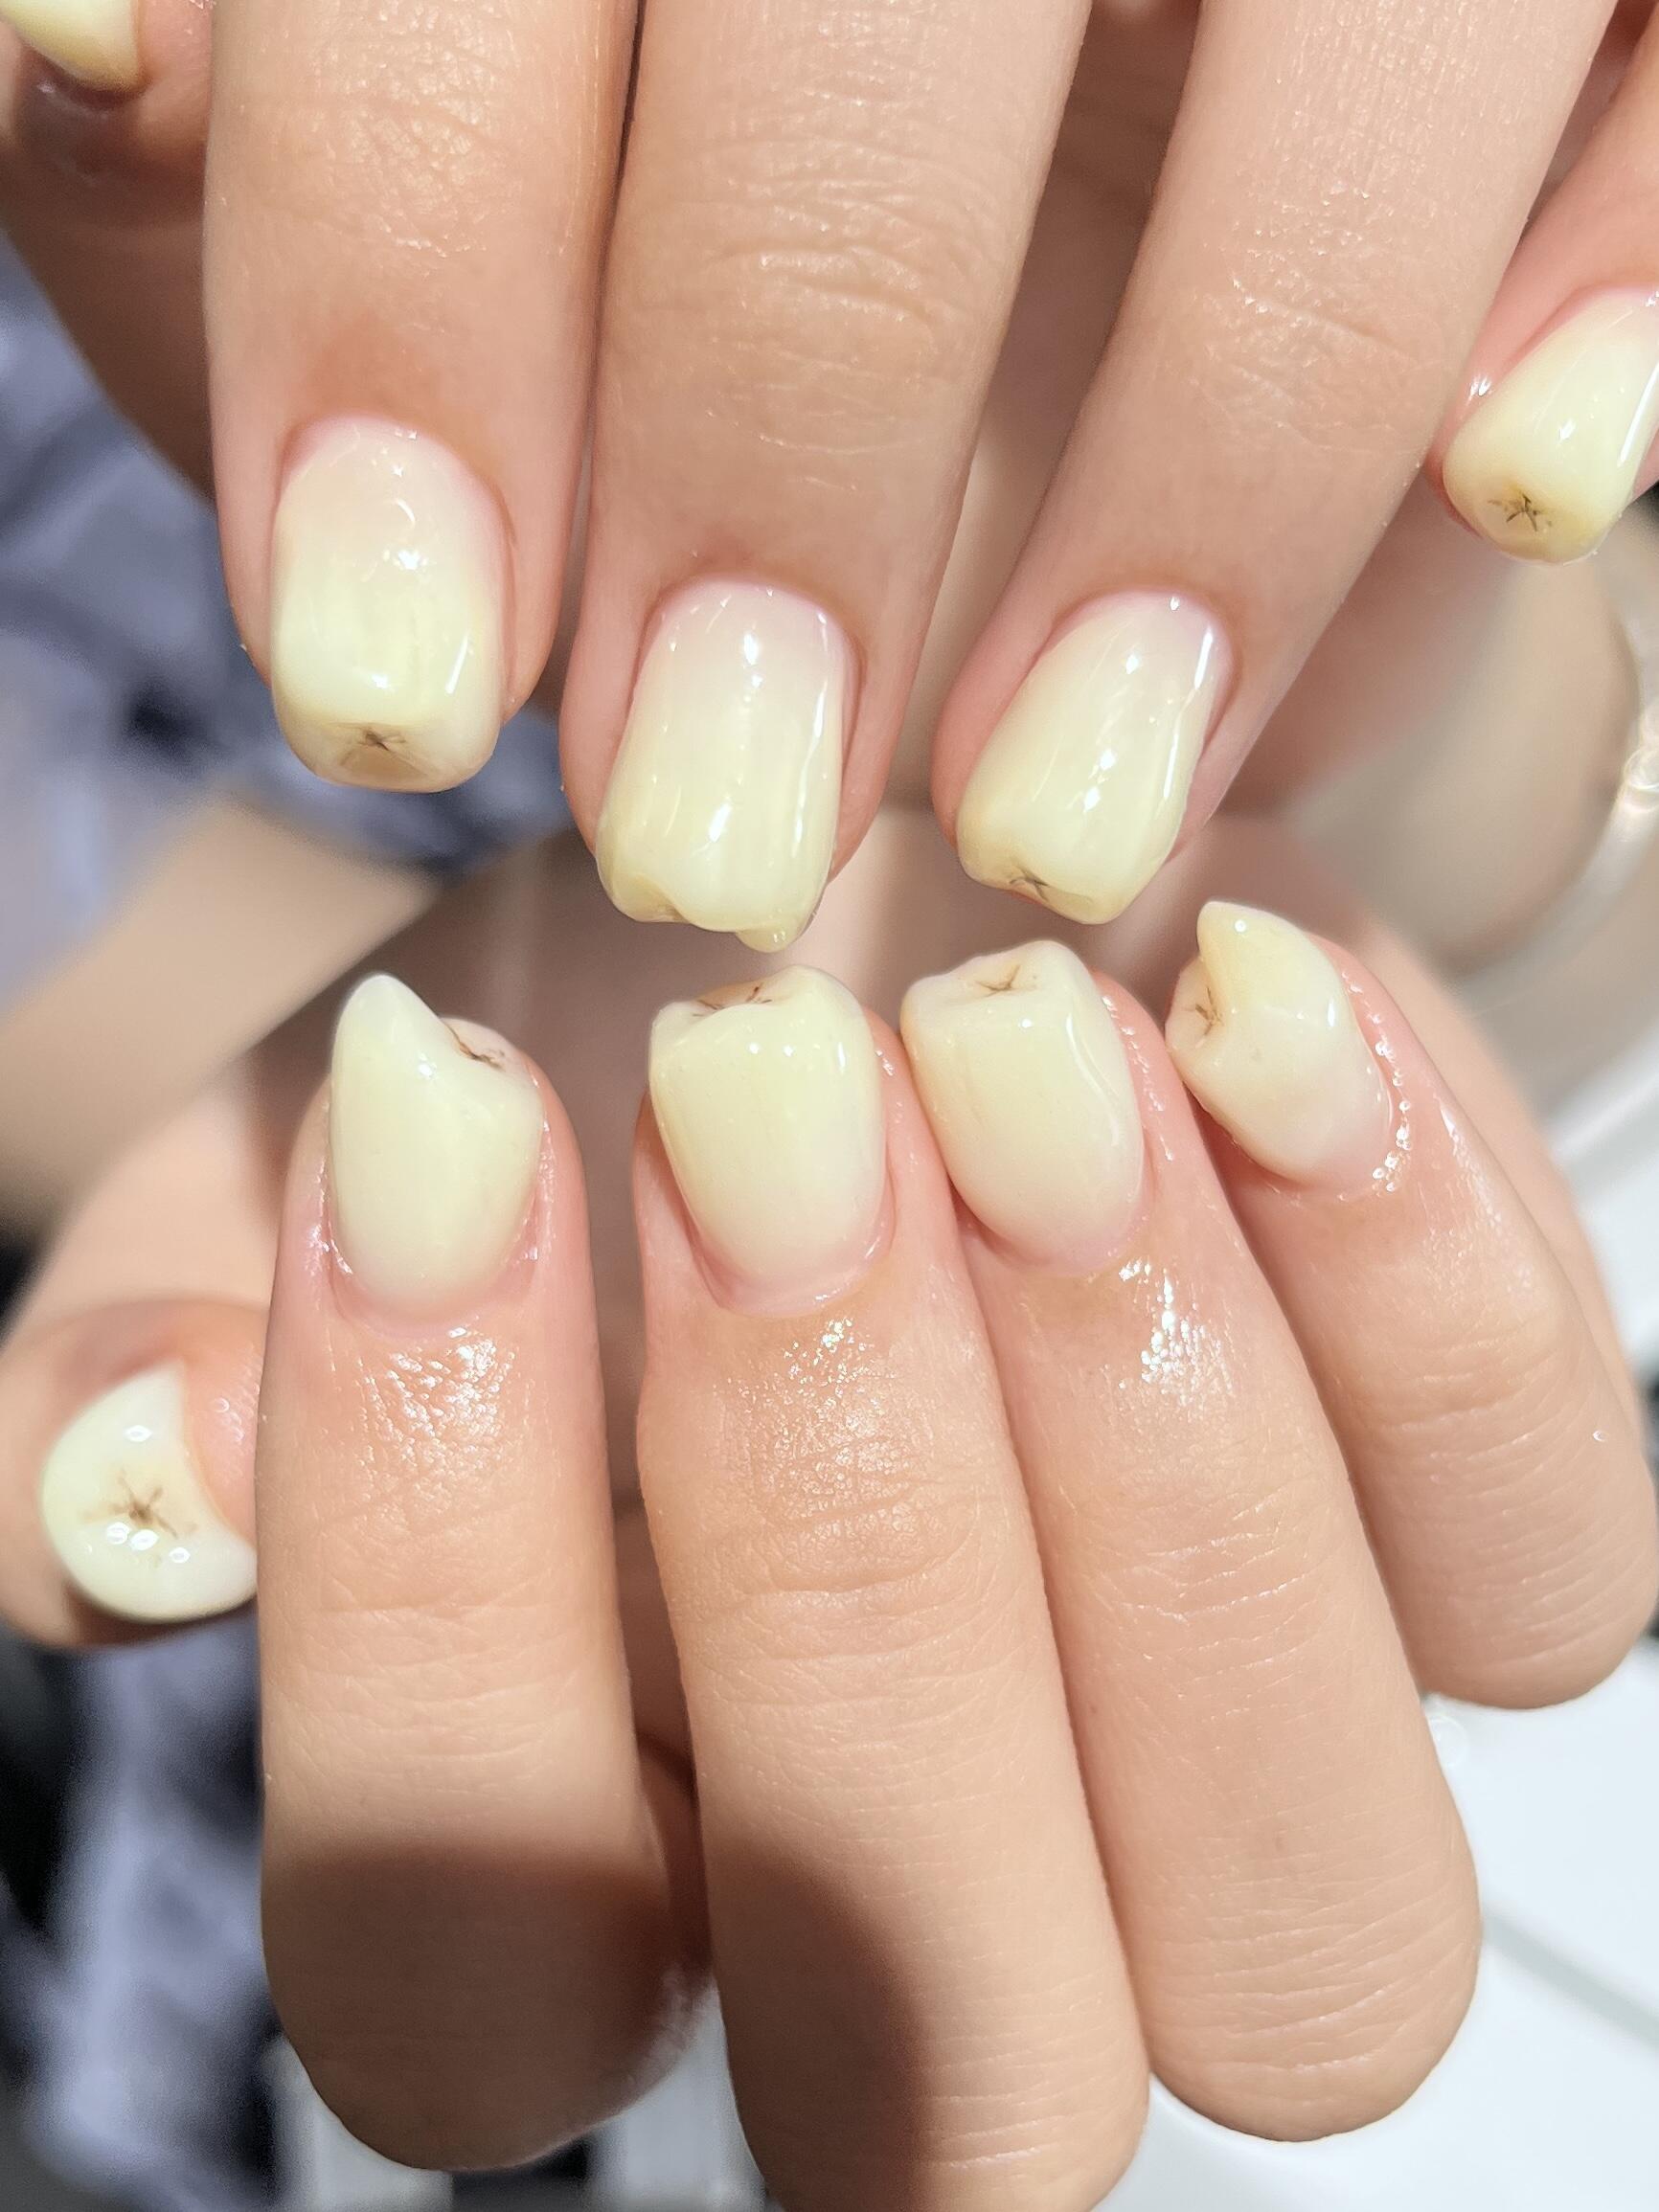
See French tip variations and trends in the nail designs trending 2026 guide.
How to Make a Floral Nail Design
Floral nails ranked as the third most-recreated nail art style in 2026, up from sixth in 2024, driven largely by pressed-flower content on TikTok (TikTok Trend Dashboard, Q1 2026). There are two ways to make them: stamped florals (zero painting skill required) and five-petal painted flowers (learnable in two sessions).
Option A: Stamped Floral Design
What you need: Floral-etched stamping plate, dedicated stamping polish, silicone stamper, base color, top coat.
Steps:
- Apply and cure your base color.
- Apply stamping polish over the chosen floral design on the plate — use a single generous pass.
- Scrape off the excess with one fast, firm stroke at 45 degrees. Speed matters: one confident scrape, not two or three slow ones.
- Press the silicone stamper firmly onto the plate to pick up the design, then roll it onto your nail in one forward motion.
- Let the stamped image dry for 30 seconds, then apply top coat and cure.
Option B: Five-Petal Painted Flower
What you need: Thin nail art brush (dotting tool works too), white or pastel nail art gel, contrasting dot color for center.
Steps:
- Cure your base color fully.
- Load a thin brush or dotting tool with petal color. Wipe off most of the excess — you want a semi-dry brush for defined edges.
- Place the brush tip where the petal center will be, press lightly to fan the bristles, and pull outward in a teardrop stroke. This is one petal.
- Repeat four times around a central point to form the five-petal flower.
- Add a contrasting dot of a darker or lighter color at the center using the small end of a dotting tool.
- Cure. Top coat. Cure again.
Our finding: The five-petal method improves dramatically between attempt one and attempt three. Don't judge the technique from a single session. By the third repetition, petal size and spacing become automatic.
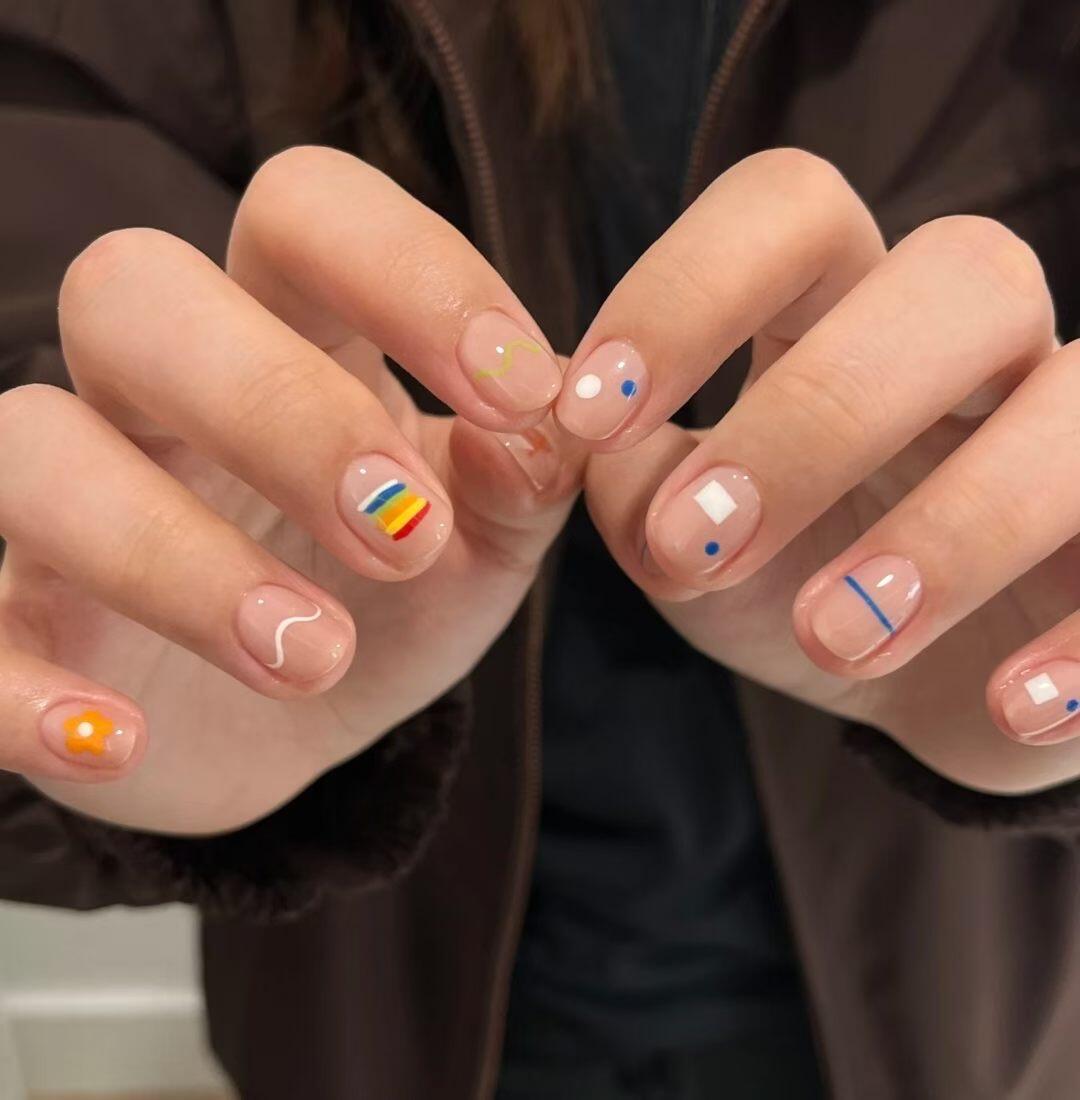
How to Make a Marble Nail Design
Marble nails don't require water marbling equipment. The sponge-and-brush method produces convincing marble veining at home using ordinary nail art tools.
In 2026, marble nail designs have 890 million cumulative views across TikTok and Instagram Reels, making it the most-viewed nail art style category online (Social Blade Beauty Analytics, Q1 2026).
What you need: White gel base, two thin veining colors (black or gray works best, plus one warm tone — gold, terracotta, or bronze), ultra-thin liner brush, glossy top coat.
Step-by-step:
- Apply white gel base and cure.
- Apply a second, slightly translucent white gel coat — but don't cure it. Working on an uncured layer lets the veining blend.
- Load your liner brush with a thin, slightly translucent gray or black gel. Pull a jagged, diagonal line across the nail — not a straight line. Real marble veins change direction, branch into thinner sub-veins, and taper at the ends.
- While still uncured, lightly drag a clean dry brush across the vein line. This softens the hard edges and creates the blended "depth" that makes marble look real.
- Add a second thinner vein in a warm tone (gold gel or bronze). Run it parallel to the first vein at a slight distance.
- Cure the full design.
- Apply a high-gloss top coat and cure — the gloss is what makes marble look like polished stone.
The one detail most tutorials miss: real marble veins have slight color variations along their length — they start dark and fade, or shift from gray to brown. Varying your brush pressure along the stroke produces this effect automatically.
The marble effect is more forgiving than it looks because any "mistake" — an extra line, an uneven vein — reads as a natural variation in the stone. There's no "wrong marble."
Explore marble and textured nail styles in nail inspo ideas 2026.
How to Make a Geometric Nail Design
Geometric nails — tape-defined triangles, diagonal color splits, grid lines — are among the fastest-growing techniques for home nail artists in 2026, with search volume up 42% year-over-year (Nailpro, Technique Trend Report, Q1 2026). They require no artistic skill: the tape does the precision work.
What you need: Thin striping tape or regular scotch tape cut into strips, two or three gel colors, base coat, top coat.
Step-by-step (diagonal colorblock):
- Apply and cure your first color as the base.
- Cut a strip of striping tape long enough to span your nail diagonally. Press it firmly from one side of the nail to the other at an angle — this is your design boundary.
- Apply your second color over the exposed portion (the area on one side of the tape).
- While the second color is still uncured, peel the tape away in one smooth pull parallel to the nail surface. Do not cure before peeling — cured gel seals the tape edge and tears when removed.
- Cure the second color immediately after removing the tape.
- Apply top coat and cure.
Design variations with the same tape method:
- Triangle: use two tape strips meeting at a point near the center of the nail
- Grid: crisscross two tape strips perpendicular to each other, apply a third color in the exposed square
- V-tip: two diagonal strips meeting at the nail tip in a V shape for an inverted French look
Our finding: Peeling before curing is the single step most tutorials get wrong — many say "cure briefly then peel." That partial cure makes the tape edge tear unevenly. Uncured gel peels clean every time.
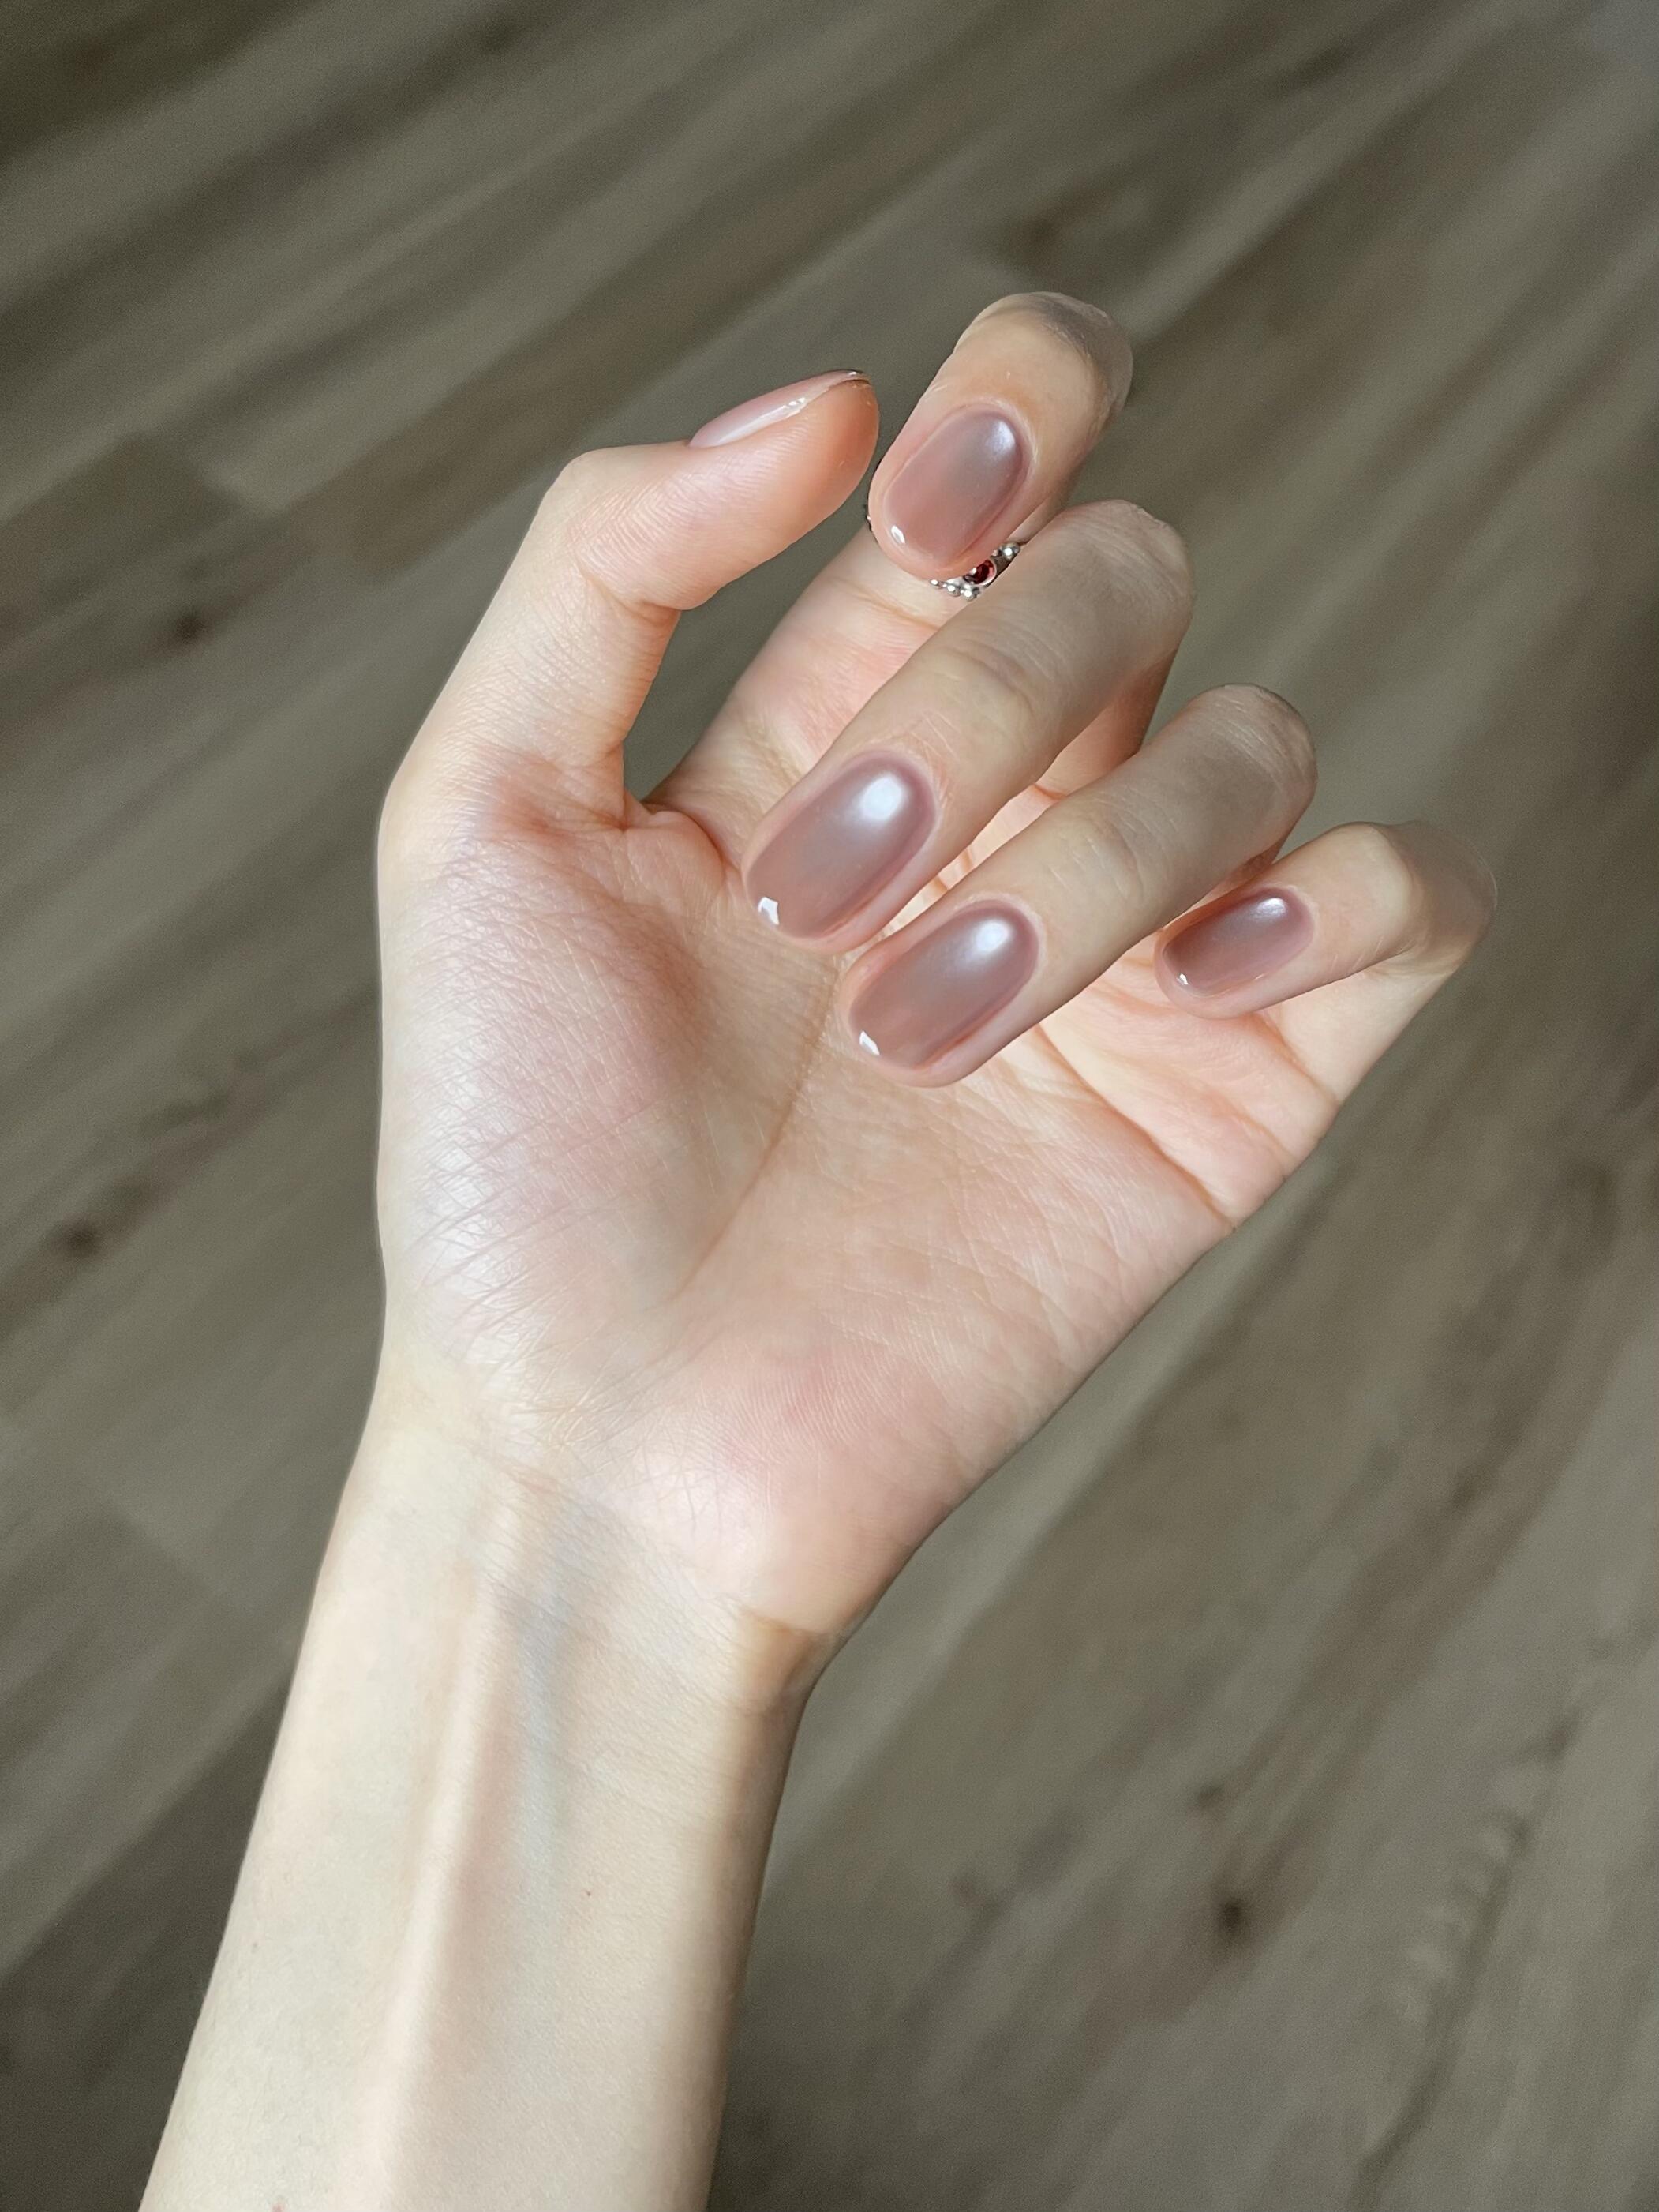
How to Make a Chrome Nail Design
Chrome nails have a mirror-like metallic finish that looks professionally applied — and it's actually one of the easiest effects to produce at home once you understand the tacky-layer principle.
In 2026, chrome powder nail art search volume is up 210% year-over-year, with silver and holographic finishes leading (Google Trends, Nail Design Category Report, Q1 2026).
What you need: Dark gel base color (black works best for chrome; navy or deep purple also work), UV/LED lamp, chrome powder (silver, gold, or holographic), small silicone applicator or firm eyeshadow brush, top coat.
Step-by-step:
- Apply base coat and cure. Apply your chosen dark base color in two thin coats, curing each.
- Apply a builder gel or pigment gel layer as the foundation for the chrome. Cure this layer but DO NOT wipe the inhibition layer (the sticky residue) — this is the tacky surface the powder needs to adhere.
- Dip your silicone applicator into the chrome powder and press it onto the tacky nail surface in small circular motions. Start at the center and work outward.
- Continue buffing in circles until the nail surface reaches full mirror opacity. Apply more powder as needed — more passes build more intensity.
- Tap off excess powder with a clean brush.
- Apply top coat over the finished chrome and cure. The top coat locks the chrome and adds depth to the mirror effect.
Why the dark base matters: chrome powder reflects the base color through the metallic layer. A dark base creates a true mirror effect. A light base produces a softer, pearl-like finish rather than a mirror chrome.
Compare chrome and metallic nail trends in the nail designs trending 2026 guide.
How to Make a Swirl Nail Design
Abstract swirl nails overtook florals as the top trending creative style in UK and Australian nail communities in Q1 2026 (Nailpro Trend Audit, Q1 2026). The swirl is forgiving by design: an irregular or asymmetric swirl looks intentional, not like a mistake.
What you need: Neutral base gel (nude, white, or cream), two contrasting nail art gel colors, medium nail art brush, top coat.
Step-by-step:
- Apply and cure your neutral base.
- Load a medium brush (size 6 or similar) with your first swirl color. The brush should be about 70% loaded — not dripping, but not dry.
- Place the brush tip near the cuticle and pull a wide, looping S-curve toward the nail tip. Let the brush naturally lift and thin at the end of the stroke. Don't try to make it perfectly smooth — variation in line weight is part of the look.
- Add a second swirl in a contrasting color that crosses or runs parallel to the first, overlapping at one point.
- Optional: use a thin liner brush to add a few thin accent lines branching off the main swirl.
- Cure. Top coat. Cure.
2026 color pairings for swirl nails:
- Terracotta + warm cream on nude base
- Electric cobalt + white on clear base
- Sage green + blush pink on white base
- Black + gold on white base
The swirl design rewards beginning artists more than most: the imprecision of a first attempt — wider in some spots, trailing unevenly — looks like deliberate artistic brushwork. Very few nail designs actively improve by being executed imperfectly.
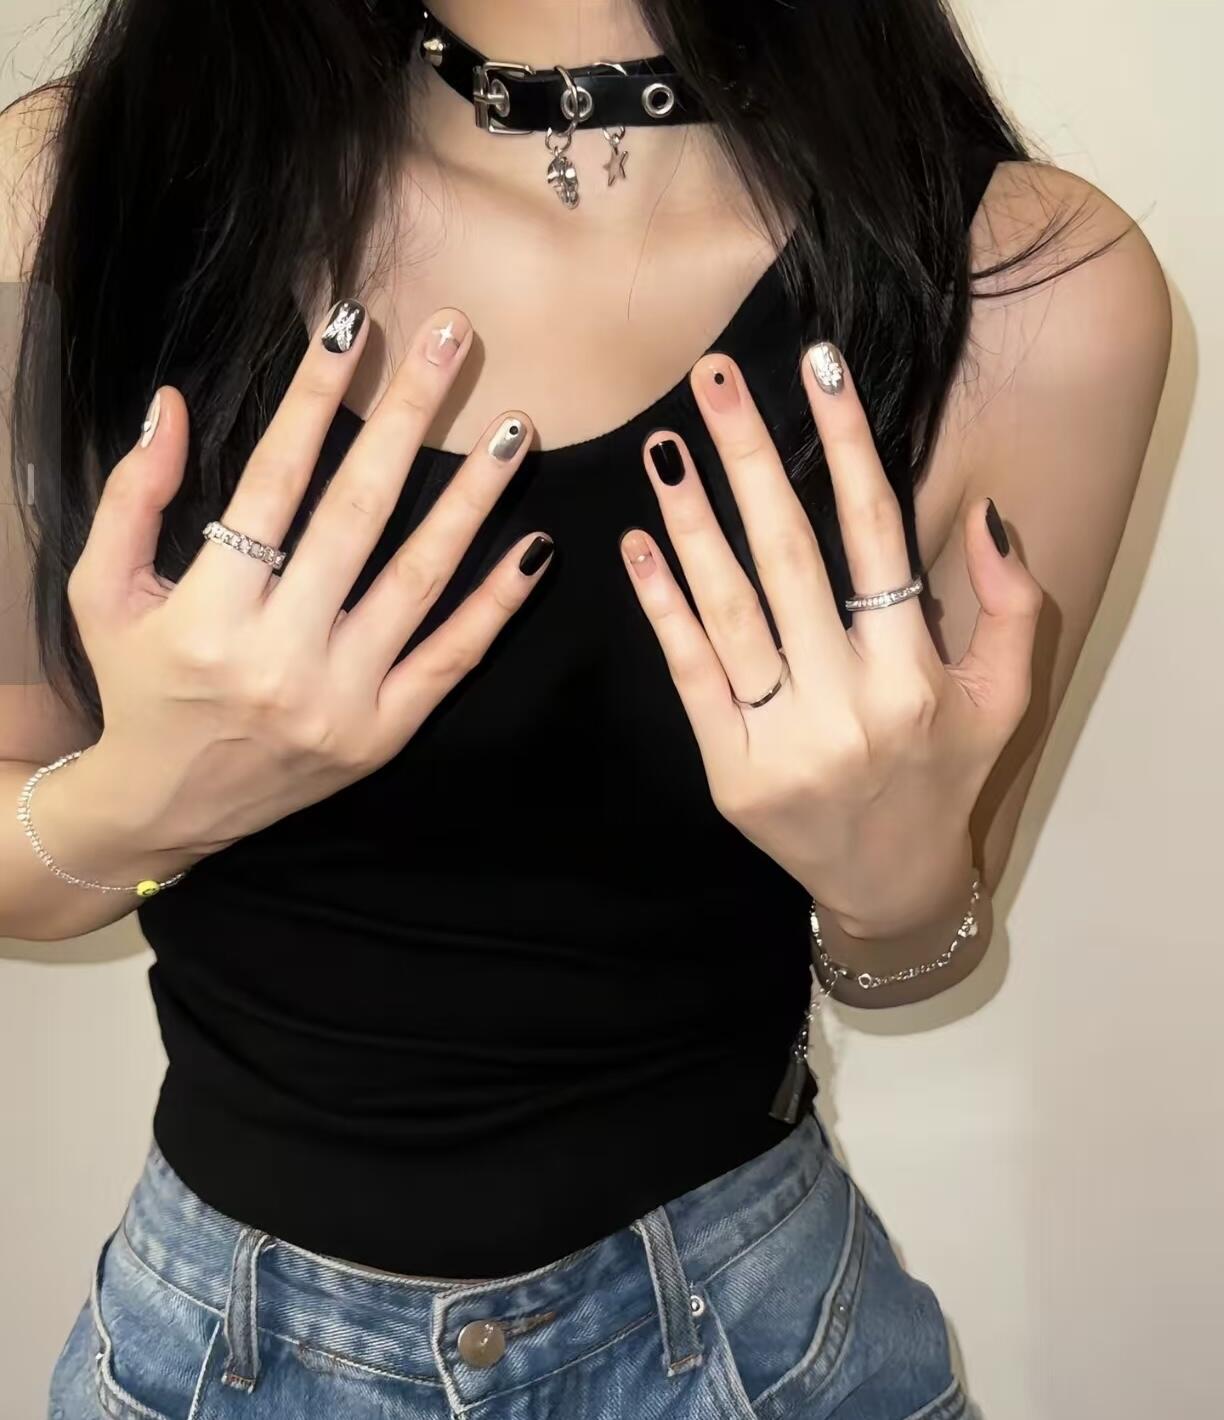
How to Make a Glitter Nail Design
Glitter nails in 2026 have moved beyond simple glitter top coats — gel glitter gradients, foil-mixed glitter accents, and chunky hex glitter on individual accent nails are the searched styles (Google Trends, Q1 2026).
What you need: Base gel, glitter gel or loose glitter with gel medium, UV/LED lamp, top coat (two coats to smooth glitter texture), cleanup brush dipped in acetone.
Step-by-step (glitter gradient):
- Apply and cure your base color.
- Apply a clear or light gel top coat in the lower half of the nail — the tip area — and leave it uncured.
- Dip a small fan brush or makeup sponge into your glitter gel and dab it onto the uncured clear gel at the nail tip. The uncured gel acts as the adhesive layer.
- Build intensity in the tip area with multiple dabs, letting each add density. Move fewer dabs toward the cuticle for a natural gradient fade.
- Cure the glitter layer.
- Apply a second thin coat of clear gel over the entire glitter area and cure — this seals the glitter particles so they don't catch on fabrics.
- Apply top coat and cure. Two thin top coats are better than one thick coat for smoothing the textured surface.
For chunky hex glitter accent nails: place individual large glitter hexes directly onto tacky gel using tweezers before curing, then seal with two top coat layers.
Our finding: Standard top coat applied once over chunky glitter doesn't fully smooth the texture — you can feel the particle edges. Two thin top coat layers, curing each separately, reduces texture by around 80%. A third layer makes it completely smooth.
How to Use an AI Tool to Design Before You Paint
In 2026, 38% of professional nail technicians use AI design preview tools for client consultations, up from 11% in 2024 (BeautyTech Insights, Professional Salon Technology Report, 2026). The reason is straightforward: a photorealistic preview on a realistic hand model shows you what the finished design actually looks like at nail scale — before you open a single bottle.
For home use, the preview step eliminates the main cause of failed home nail art: starting with a design that looked good in a tutorial photo but didn't translate to your nail shape, length, or skin tone.
Preview your nail design before you start painting.
Learn how AI nail tools generate previews in the AI nail design generators guide.
Frequently Asked Questions
How long does it take to make a nail design at home?
Most nail designs take 45–75 minutes for a full set, including base coat, design layers, and top coat with cure cycles. French tip and geometric designs run shorter (40–50 min). Marble and swirl designs run longer (60–80 min) because they involve multi-step layering. Add 10–15 minutes to any estimate if it's your first time with a specific technique.
What tools do I need to make most nail designs at home?
A 36W LED lamp, base coat, clear top coat, two to three gel colors, and a thin liner brush cover 90% of the designs in this guide. Chrome nails additionally need chrome powder and a silicone applicator ($5–$10). Stamping-based florals need a stamping plate and dedicated stamping polish ($10–$20). The core gel kit investment is $40–$60 and works for all seven designs.
Which nail design is hardest to make at home?
Water marble is the most unpredictable because temperature, water mineral content, and polish drop size all affect the result. The sponge-marble method in this guide avoids water entirely and produces more consistent results. Freehand florals also have a learning curve, but improve quickly between attempt one and attempt three.
How do I make my nail design last longer?
The prep sequence before applying any design — dehydrator plus thin base coat with free-edge capping — is the most impactful variable. Well-prepped gel nail art typically lasts 10–14 days. Without dehydrator, the same design often lifts within 4–6 days. Daily cuticle oil and wearing gloves during cleaning products also extend wear noticeably.
Can I make nail designs without a UV lamp?
Yes, using regular nail polish. All seven designs in this guide work with regular polish — the steps are identical except there's no curing step. The tradeoff is longevity: regular polish lasts 5–7 days versus gel's 10–14. For the chrome design specifically, chrome powder doesn't adhere to regular polish the same way — use a metallic gel polish or mirror nail polish as a substitute.
Knowing the specific steps for the design you want is most of the work. Pick one style from the seven above, gather the short tool list for that design, do the prep sequence, and follow the steps. Most of these designs look harder than they are — and the ones that don't (marble, swirl) are the ones where imprecision is a feature.
Try an AI nail design preview to see your chosen look before you paint.
Keep exploring nail inspo
Sources
- Grand View Research, Global Nail Care Market Report, 2026.
- Nailpro, At-Home Application Study Q1 2026.
- Pinterest, Trend Report Q1 2026. https://trends.pinterest.com
- TikTok Trend Dashboard, Floral Nails Q1 2026. https://www.tiktok.com
- Social Blade Beauty Analytics, Marble Nail View Counts Q1 2026.
- Nailpro, Technique Trend Report Q1 2026.
- Google Trends, Chrome Nail Powder Search Volume Q1 2026. https://trends.google.com
- Nailpro, Trend Audit Q1 2026.
- BeautyTech Insights, At-Home Beauty Survey, 2026.
- BeautyTech Insights, Professional Salon Technology Report, 2026.