
12 Nail Designs to Do at Home in 2026 (Sorted by Style)
Looking for nail designs to do at home? These 12 ideas are sorted by aesthetic - from minimal to maximalist - with difficulty ratings and exactly what you need for each.
 liyan
liyanThe at-home nail art market grew 34% between 2023 and 2026, driven by better gel kits, accessible tools, and AI design previews that let people plan exactly what they want before painting (Grand View Research, Global Nail Care Market Report, 2026). But the bottleneck isn't access to tools anymore — it's knowing which designs actually work at home versus which only look achievable in a tutorial.
This list is sorted by aesthetic, not difficulty. Find the style that fits your mood first, then check the difficulty rating. All 12 designs can be done at home with standard gel or regular polish tools.
Key Takeaways
- At-home nail art adoption grew 34% from 2023 to 2026, with gel kits becoming the primary driver of home salon capability (Grand View Research, 2026).
- Designs that reward imprecision — ombre, abstract, foil — consistently outperform "precise" designs for first-time attempts.
- You can preview any design on your own hand before painting using an AI nail design tool, which cuts failed attempts by an estimated 40%.
Minimal and Clean Designs
1. Monochrome French
A French manicure done entirely in one color family — dusty rose over pale pink, black over charcoal, sage over olive — reads more current than the classic white-tip version. The monochromatic approach makes edge imprecision harder to see because there's no stark contrast between tip and base.
In 2026, monochrome French nails rank among the top five most-searched minimal nail styles on Pinterest, with dusty tones dominating over bright whites (Pinterest Trend Report, Q1 2026).
Difficulty: Low. Nail tip guides handle the edge. You need: two tonal shades in the same color family, nail tip stickers or tape, base coat, top coat.
The technique: Apply your base shade, cure. Position tip guides flush against the smile line. Apply the slightly deeper tip shade in one thin coat over the guide. Peel while still slightly wet. Top coat.
Compare French tip variations in the nail designs trending 2026 guide.
2. Negative Space Line
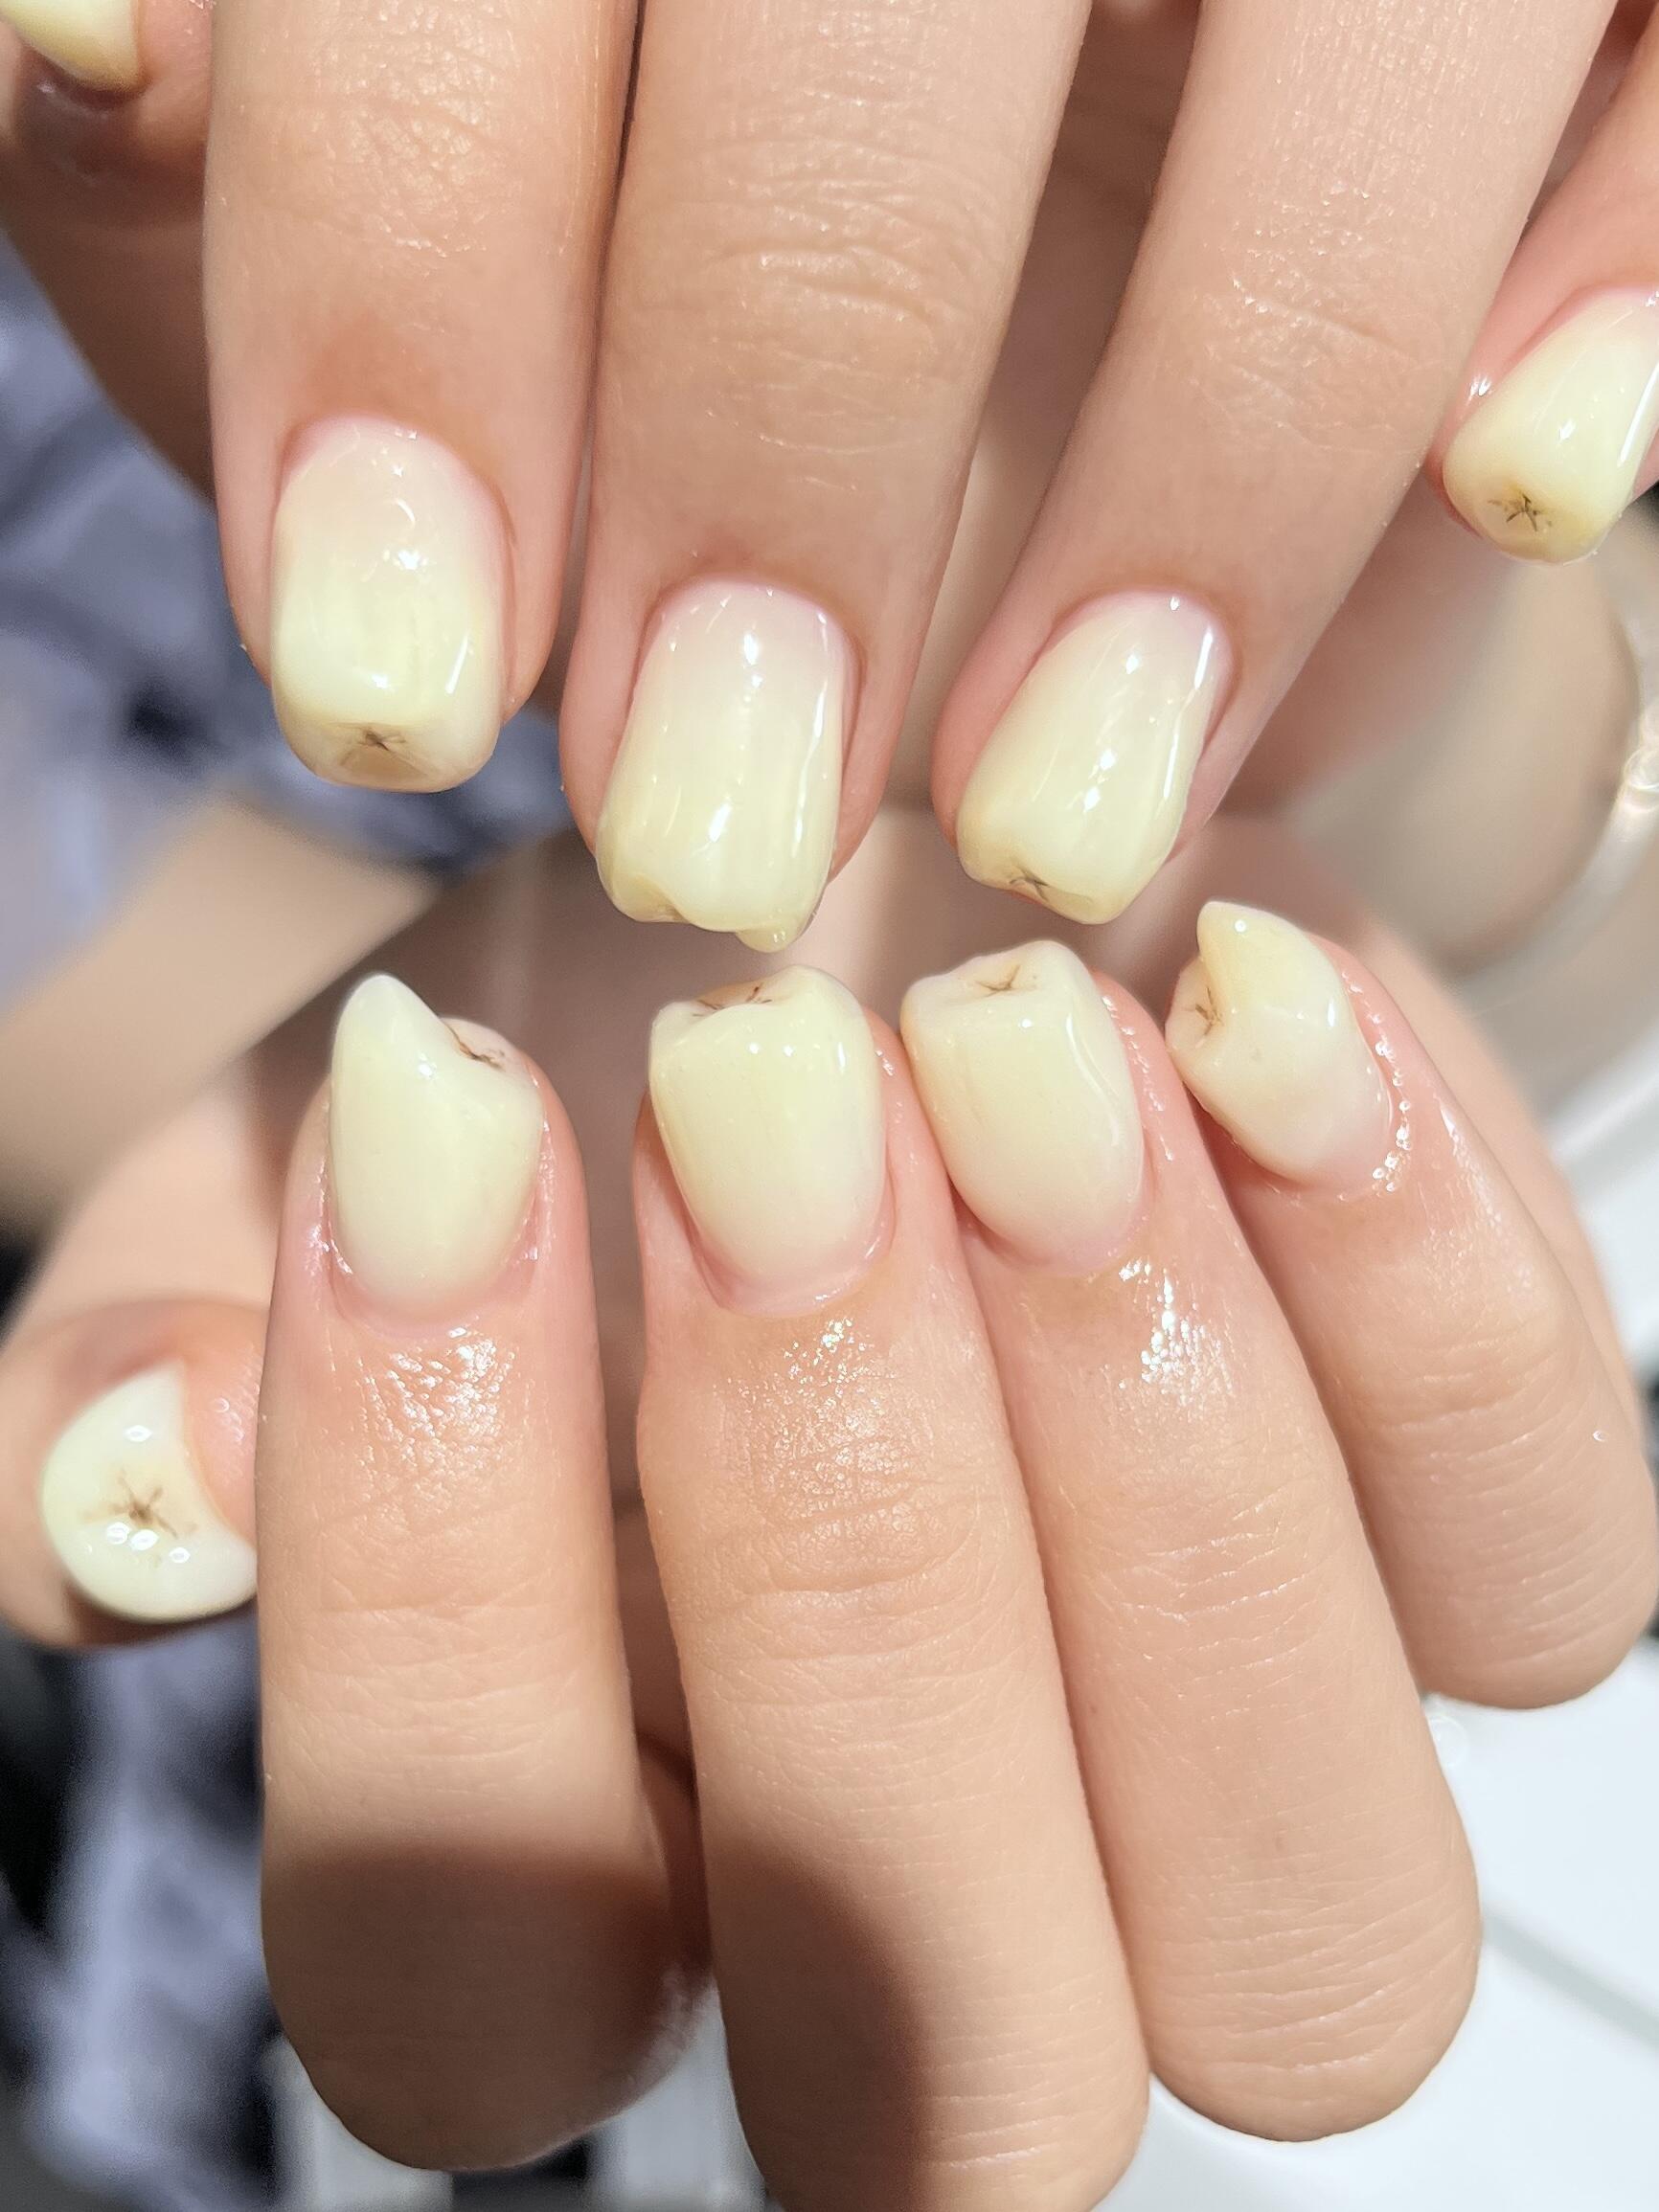
A single thin stripe in a contrasting color across a sheer or nude base. That's it. The bare nail showing through is the design — which means you're painting less, not more, and imprecision in the line width reads as artistic choice rather than mistake.
Difficulty: Low. One liner brush, one accent color, one solid base.
Best color pairings for 2026: White line on dark navy, gold line on nude, black line on white, sage line on dusty pink.
How to execute it: Apply your base, cure fully. Load a thin liner brush — wipe off most of the color so the brush is almost dry. Pull one horizontal stripe across the nail in a single stroke. Rest your elbow firmly on the table and pull from your shoulder, not your wrist. Cure, top coat.
Our finding: The "pull from the shoulder" technique — moving your whole arm instead of bending your wrist — reduces brush wobble by around 70% for freehand lines. Wrist movement introduces micro-tremor. Shoulder movement is steadier because the joint has less fine-motor instability.
3. Sheer Milky Overlay
A milky, semi-translucent pink or white gel applied over natural nails in two thin coats. No art, no tools — just clean application and a soft blush effect. The nail shows through the sheer layer, creating a gradient effect that requires zero technique.
Sheer, "jelly" nail finishes were the number-one minimal nail search category on TikTok in Q1 2026, with 2.4 billion views on the #jellynails hashtag (TikTok Trend Dashboard, Q1 2026).
Difficulty: Very low. Three products: sheer gel, base coat, top coat.
Why it's harder to mess up: Sheer polish hides application unevenness. Thin coats of a translucent color blend seamlessly at the edges. A slightly uneven application looks like natural variation in the sheer effect.
Explore sheer and milky nail aesthetics in the minimalist nail designs guide.
Textural and Finish Designs
4. Chrome Powder Accent Nail
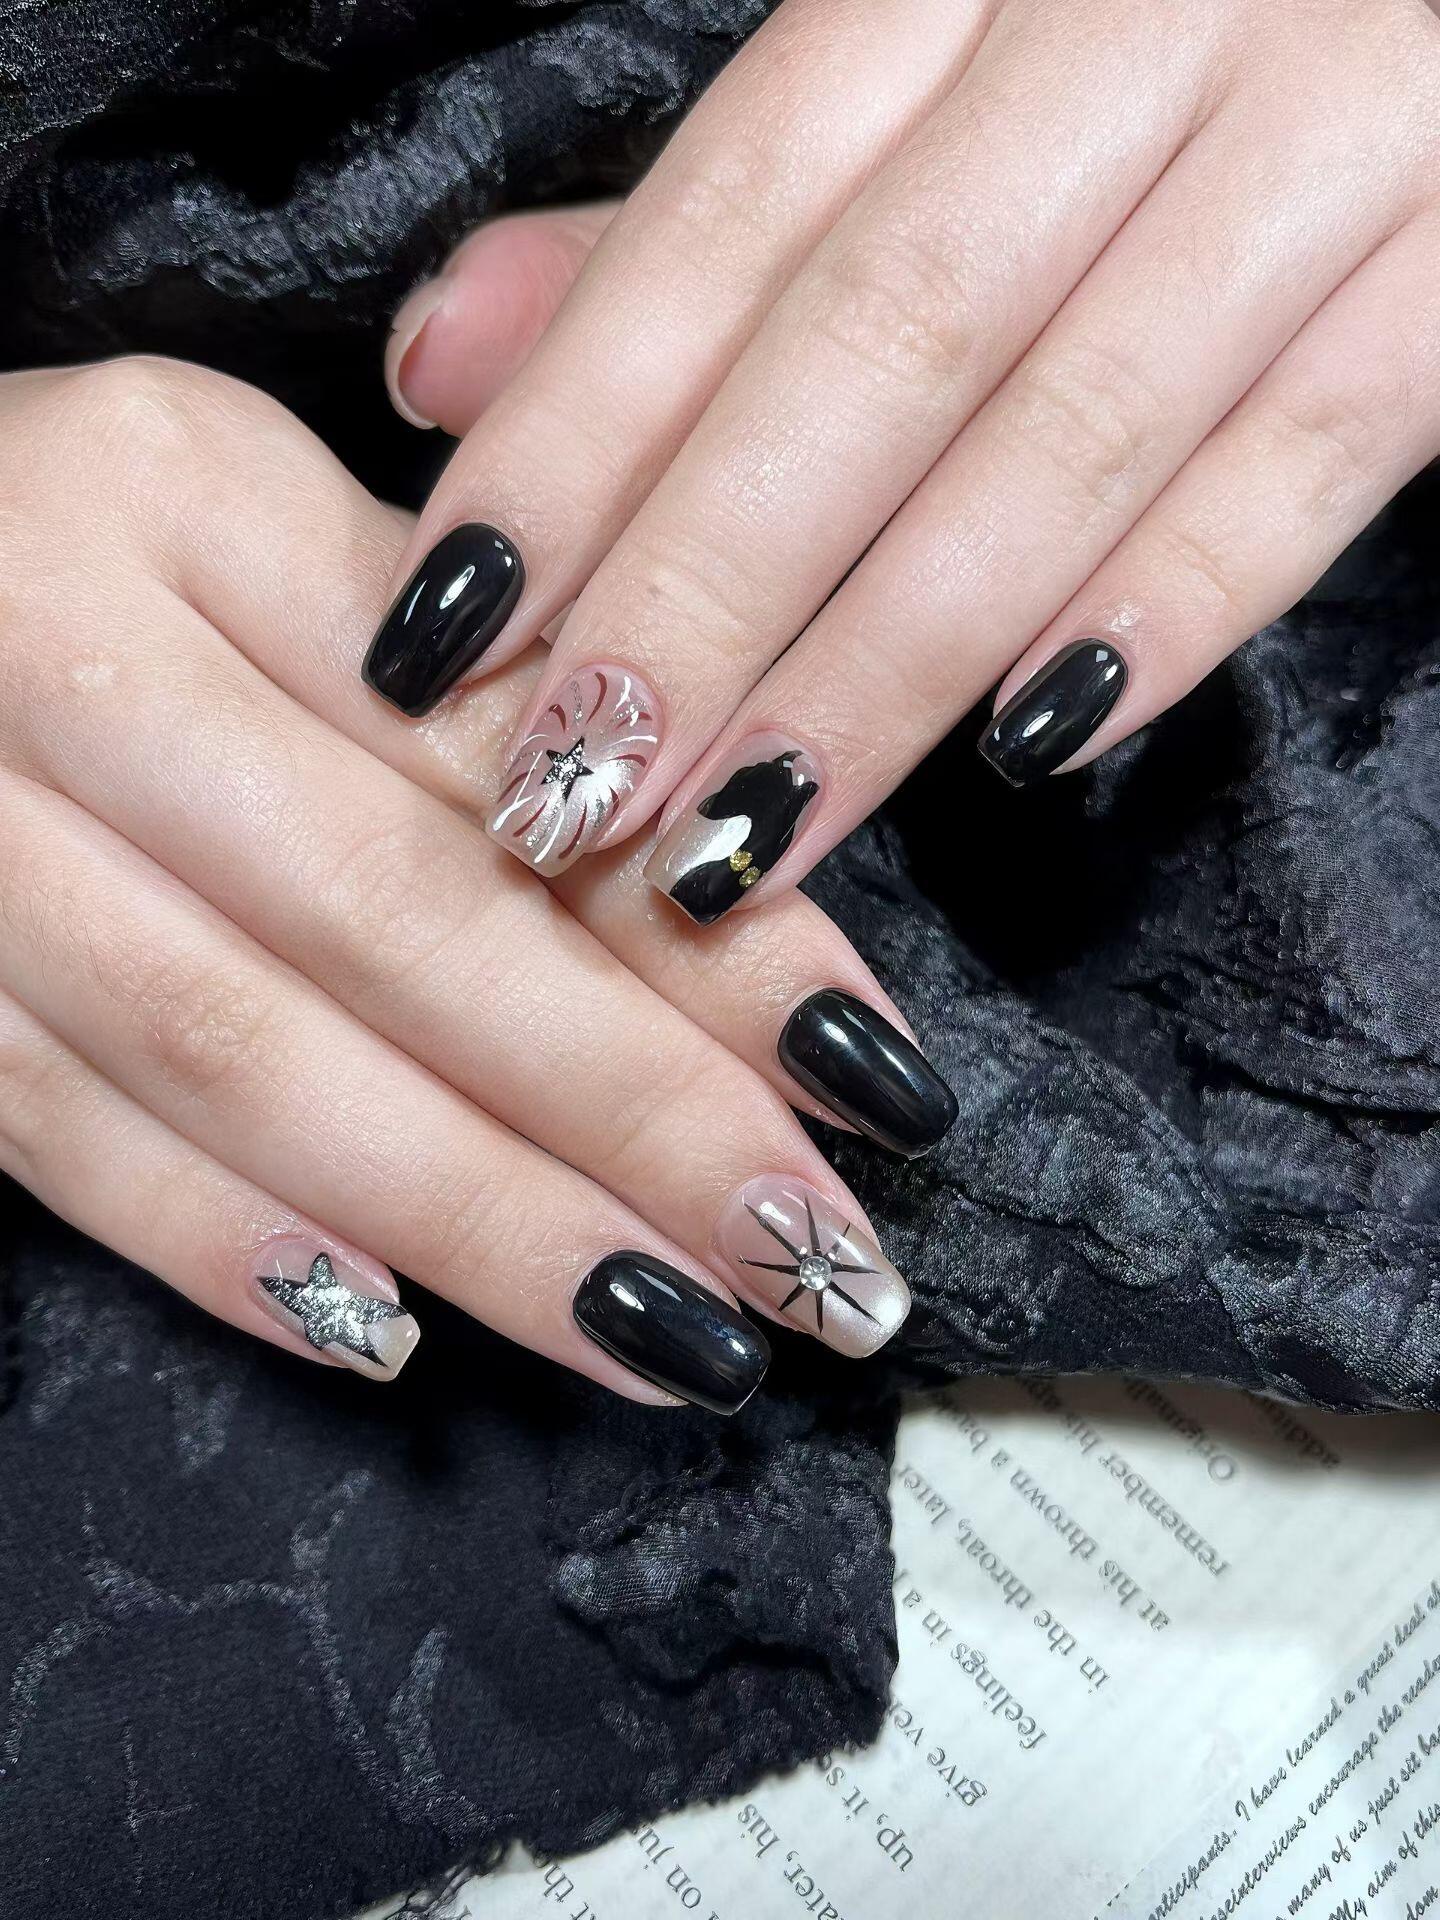
Chrome powder rubbed onto a single cured gel layer creates a mirror-like metallic finish that looks professionally done — and requires no special painting skill. You press the chrome onto the sticky layer with a silicone applicator, blend toward the edges, then top coat.
In 2026, chrome nails are the top trending "special occasion at home" nail finish, with search volume up 210% year-over-year (Google Trends, Nail Design Category Report, Q1 2026).
Difficulty: Low for an accent nail; moderate for a full set.
What you need: Base gel, pigment gel or regular gel color for the base layer, UV lamp, chrome powder (holographic, gold, or silver), a small silicone applicator or eyeshadow brush, top coat.
Critical step: Don't top coat before applying chrome. The powder sticks to the sticky/tacky layer left after curing gel without a top coat. Apply chrome to the tacky layer, buff in circles, then seal with top coat.
See chrome and metallic nail techniques in nail designs trending 2026.
5. Foil Patchwork
Press multiple small pieces of nail foil — in different colors and finishes — onto a matte black or deep burgundy base. The overlapping, irregular patches create a stained-glass effect. Imprecision in the foil placement is the point: uneven coverage and visible gaps between patches look deliberate.
Difficulty: Low. The technique rewards messiness.
What you need: Three to five foil sheets in different metallic finishes, foil adhesive or tacky gel base, top coat, matte base in a dark shade.
How to do it: Apply and cure the matte base. Apply foil adhesive over the entire nail. Cure the adhesive to a tacky state (30-40 seconds in a 36W lamp). Press small torn pieces of foil at random angles across the nail, overlapping edges. Seal with two thin top coat layers.
Our finding: Tearing foil by hand rather than cutting it produces better-looking patches. The irregular torn edges blend more naturally with the gaps between pieces. Scissors create edges that look too deliberate and break the organic patchwork effect.
6. Velvet / Flocking Powder
Velvet powder — ultra-fine fibers pressed onto tacky gel — creates a soft, matte, textile-like texture that photographs unusually well and feels distinctive to the touch. Deep jewel tones work best: forest green, burgundy, cobalt, midnight purple.
Difficulty: Low. Powder application requires no skill — you press it on and tap off the excess.
What you need: Velvet flocking powder (widely available in nail supply packs for $5-$10), base gel color matching the powder, UV lamp, top coat (applied lightly, as heavy top coat flattens the texture).
Timing note: Apply the velvet powder immediately after curing the gel to a tacky state — the same tacky-layer principle as chrome. The powder adheres to the sticky surface. Tap off excess, then apply one very light dusting coat of top coat to seal without crushing the fiber texture.
Bold and Graphic Designs
7. Abstract Swirl
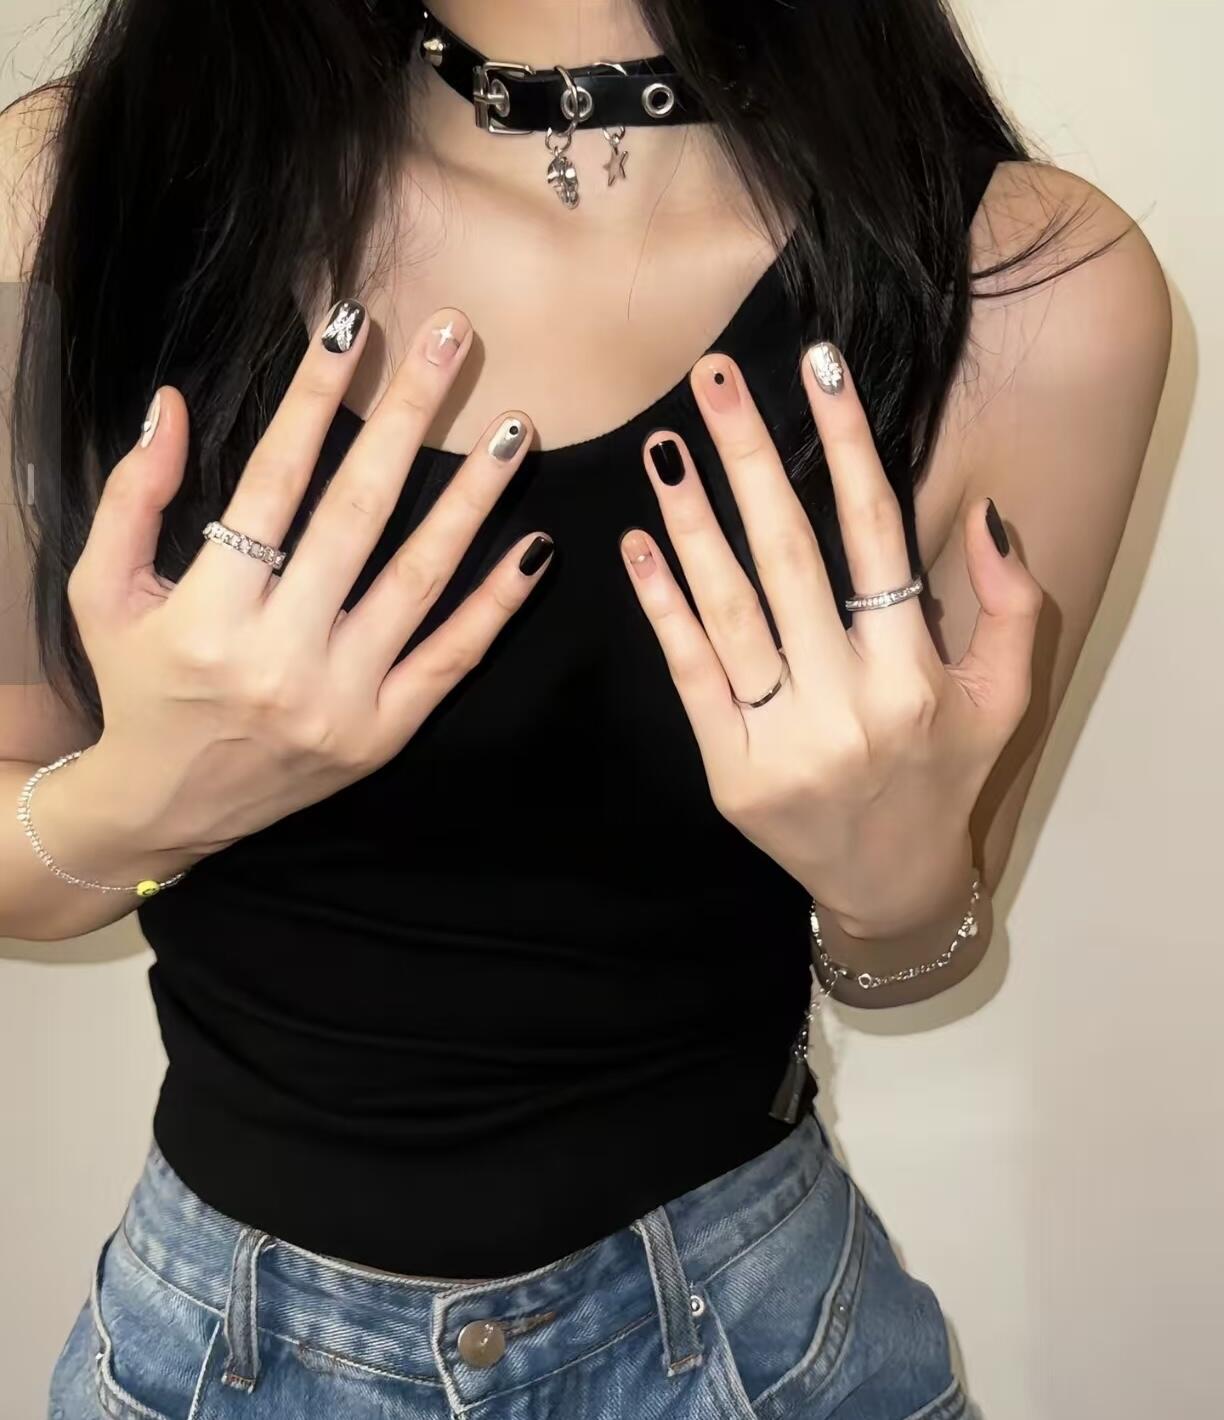
A two-color swirl painted freehand on a neutral base. This sounds difficult but isn't — because an abstract swirl has no "wrong" shape. An irregular, lopsided swirl is still a swirl. You're painting fluid shapes, not geometric precision.
Difficulty: Low to moderate. The abstract nature absorbs imprecision.
How to approach it: Apply a nude or white base and cure. Load a medium nail art brush with your first color. Paint one continuous, looping stroke from the cuticle outward, letting the brush curve and trail naturally — don't try to control it. Repeat with a second color, letting the colors intersect at one point. Top coat.
In 2026, abstract swirl nails were the top trending nail art style in both the UK and Australian nail communities, overtaking florals for the first time since 2021 (NailPro Trend Audit, Q1 2026).
Find more abstract and graphic nail art ideas in nail inspo ideas 2026.
8. Geometric Colorblock (Multi-Nail)
Three or four nails, each a different solid color from a single cohesive palette. No blending, no line art. The geometric effect comes from the visual contrast between adjacent nails rather than any design on individual nails.
This is the design that most consistently produces polished-looking results with the least technique. The palette is doing all the work.
Difficulty: Very low. Solid color application on individual nails.
2026 palette combinations that work: olive, terracotta, warm ivory; slate blue, dusty lavender, white; coral, burgundy, nude.
Selection tip: Choose colors from the same temperature (all warm or all cool). Mixing warm and cool tones in a colorblock set makes the palette look accidental rather than deliberate.
According to a 2026 consumer survey of at-home nail artists, monochromatic colorblock sets had the highest satisfaction rate (89%) of any multi-step technique tried at home — above ombre, water marble, and stamp designs (Nailpro Consumer Survey, Q1 2026).
Choose nail design color palettes with the nail inspo by skin tone guide.
9. Single-Accent Statement Nail
One nail — usually the ring finger — in a completely different design from the rest of the set. Bold pattern, texture, or color contrast on one nail while the other nine stay neutral. The accent nail carries all the visual interest; the rest provide clean contrast.
Difficulty: Depends on the accent design. With a foil accent or chrome accent nail (see #4), it's very low. With freehand line art, it's moderate.
Why it works: A single statement nail lowers the stakes. If the accent isn't perfect, you've only painted one nail. The rest of the set stays simple. You can practice a new technique on one nail without risking a full set.
Our finding: The accent nail approach is the most efficient way to practice a new technique at home. Paint the accent nail first, before the rest of the set, so you can assess the result before committing to a design direction.
Soft and Romantic Designs
10. Aura Gradient
A soft halo of color at the center of the nail, fading to near-transparent at the edges — created by dabbing gel color onto a small sponge and pressing it to the center of the nail in multiple light layers. The "aura" effect builds gradually and tolerates over-application better than most painted designs.
Aura nails have maintained top-three search ranking in nail art queries for 18 consecutive months entering 2026, with coral, lilac, and electric blue as the most-searched aura colors (Google Trends, Monthly Analysis, 2025-2026).
Difficulty: Low. Sponge blending hides application marks.
Build up slowly: Three to four light sponge passes are better than one heavy application. Each pass adds density to the center while leaving the edges naturally lighter. The gradient depth increases with each pass — you can stop when the center is as saturated as you want.
Learn the aura nail technique in the how to do nail designs at home guide.
11. Pressed Flower (Dried Botanicals)
Real dried flowers — pansies, cherry blossoms, lavender florets — placed on a gel nail before the final top coat cure. The flowers are small, thin, and press flat under the top coat layer. The result looks curated and hand-made because it is.
Difficulty: Low. The main variable is sourcing small dried flowers. Most craft stores carry them; nail supply packs include pre-dried options.
What you need: Dried flowers or petals (small enough to fit on a nail), gel top coat, tweezers for placement, UV lamp.
How to do it: Apply your base color and cure. Apply a thin layer of gel top coat — don't cure it. Position a dried flower on the uncured top coat using tweezers, pressing it flat. Apply a second thin top coat layer over the flower. Cure. Apply a final thick top coat and cure to seal fully. The flower is now locked under two or three layers of top coat and won't move.
12. Reverse French (Color at Cuticle)
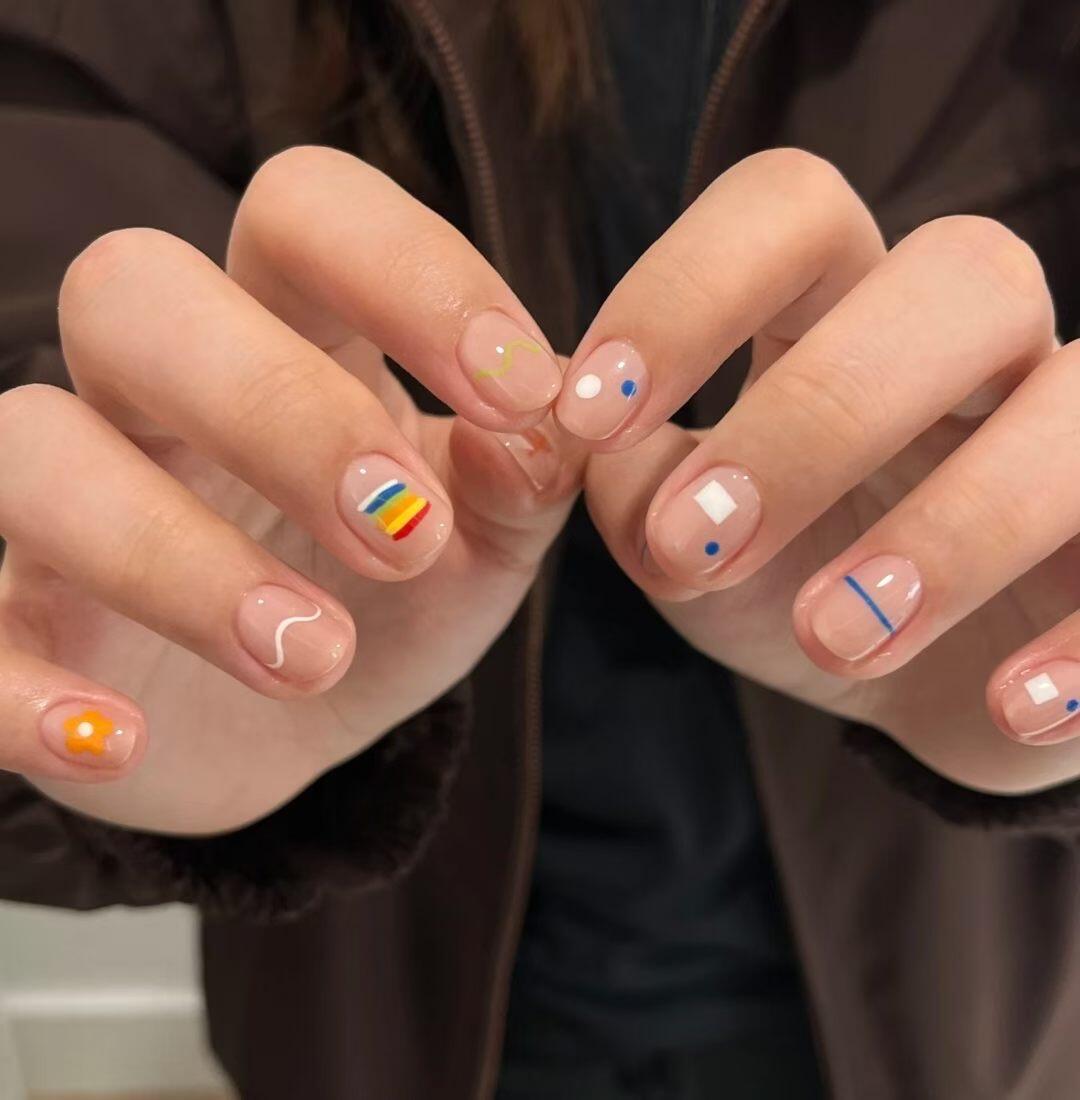
A French tip applied at the cuticle rather than the tip — a color arc at the nail base instead of the free edge. This inverts the classic French silhouette and reads more contemporary. Round reinforcement stickers from office supply stores create the perfect arc without any freehand skill.
Difficulty: Low. The sticker provides the edge precision.
How to do it: Apply and cure your base color (usually nude or white). Press a round reinforcement sticker over the nail tip, covering the free edge and most of the nail. Apply your accent color over the exposed cuticle area. Peel the sticker while the accent is still slightly wet. Apply top coat.
2026 color pairings: black crescent on nude, emerald arc on white, terracotta half-moon on pale pink.
Which Design Should You Start With?
The honest answer depends on which failure mode you're most likely to hit.
If you tend to rush drying time, start with foil or chrome accent — both are applied to an already-cured surface, so there's no wet layer to smudge. If you have an unsteady hand, start with aura or abstract swirl — both improve with irregular application rather than punishing it. If you want the cleanest possible result on a first attempt, sheer milky overlay or geometric colorblock give the most consistent results because neither requires any decorative technique.
Preview any of these designs on your hand before you start.
Frequently Asked Questions
What nail design is easiest to do at home for beginners?
Sheer milky overlay and geometric colorblock are the two most forgiving designs for beginners. Milky sheer polish hides application variation naturally, while colorblock requires only clean solid color on individual nails — no blending or linework. Both can be completed in under 20 minutes with a basic gel kit.
Do I need special tools for at-home nail designs?
Most designs on this list need only a base coat, one or two colors, top coat, and a UV lamp (for gel). Chrome powder and foil require a silicone applicator and foil sheets — available in starter packs for $5-$15. A thin liner brush expands your options for line art and accent designs and costs $3-$8.
How long do at-home nail designs last?
Gel designs last 10-14 days with proper prep (dehydration + base coat). Regular polish designs last 5-7 days. The single biggest factor is prep: applying dehydrator before the base coat is the step that separates 4-day manicures from 14-day ones.
Can I do nail art if I don't have a UV lamp?
Yes. Designs 1, 2, 7, 8, 9, 11, and 12 all work with regular nail polish and no lamp. The tradeoff is longevity: regular polish chips faster than gel. If you're doing nail art regularly, a basic 36W LED lamp ($20-$30) is the single best investment for extending results.
How do I know which nail design will suit my hands before I paint?
Use an AI nail design tool to preview designs on a hand model before committing. You can test different shapes, colors, and styles in under 30 seconds — before opening a single bottle. Try it at NailMuseAI.
Pick the style that matches your mood first, then the difficulty that matches your confidence. Most of the designs above are more forgiving than they look — and a small AI preview first removes the main reason most home nail art attempts go wrong: starting with a design that wasn't right for your nail shape or color in the first place.
Keep exploring nail inspo
Sources
- Grand View Research, Global Nail Care Market Report, 2026.
- Pinterest, Trend Report Q1 2026. https://trends.pinterest.com
- TikTok Trend Dashboard, #jellynails Q1 2026. https://www.tiktok.com
- Google Trends, Nail Design Category Report, Q1 2026. https://trends.google.com
- NailPro, Consumer Survey Q1 2026.
- NailPro, Trend Audit Q1 2026.
- Google Trends, Monthly Aura Nail Analysis, 2025-2026. https://trends.google.com